
My son's end-of-the-year 3rd grade party was yesterday, and I foolishly eagerly volunteered to organize it. Thankfully, it was just for his class, and it was only one hour long. Like I always do, I started out by searching the internet for unique ideas for activities, games, food, decorations, etc. Then I actually thought of an idea myself! I know... shocking! Wouldn't it be fun if I could make a photo booth!
I knew this project was going to take me a lot of elbow grease so I delegated the other two games, decorations, and food to the other parents who had volunteered to help. Thank God for them!
Because I didn't want this to cost me a bunch of money I called the local appliance store and asked if they had a refrigerator or freezer box I could have. Luckily they did! Yay!
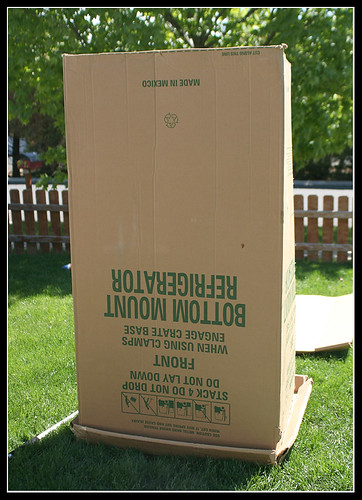
First thing I did was cut the box in half, then I stapled strips of old scrap wood I had laying around to the top and bottom of the opening, making the doorways on either side of the booth.
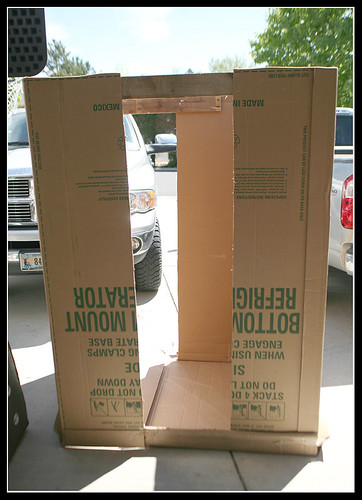
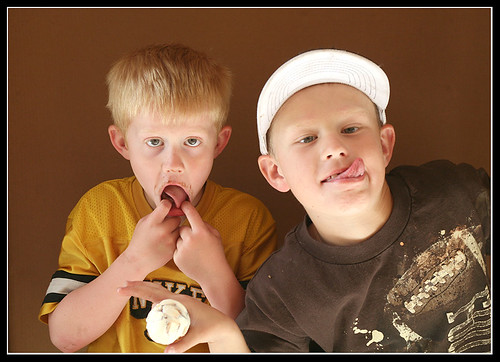
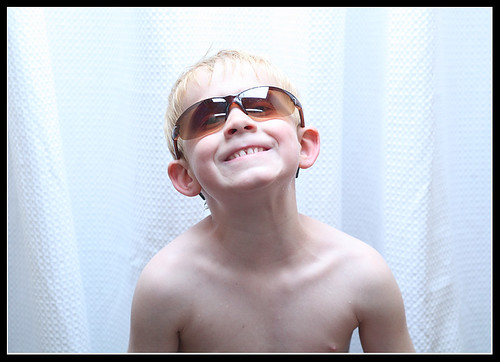
To make sure I had enough room for the pictures I had my two stinky dirty little boys come pose for me. Then I cut out a square where my camera lens would poke through to the inside of the booth.
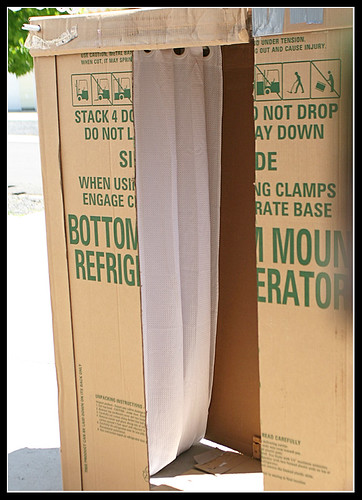
After that I added a backdrop using an old curtain rod and a white curtain that I already had. The cardboard would have worked fine, especially after turning the pictures B/W, but I wanted something that would make the end result look more "photo boothish."
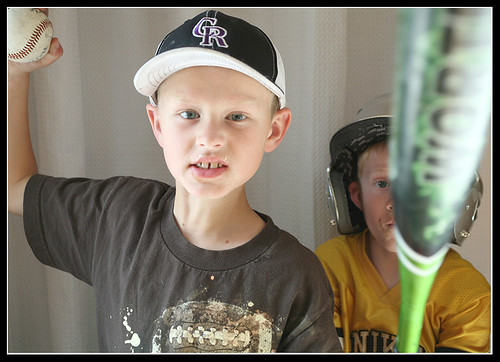
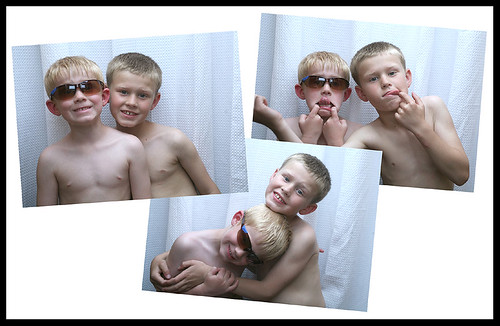
Then, I interrupted my stinky boys from playing baseball in the yard for another test.
Perfect! We're good to move on to the next step. Time for paint!
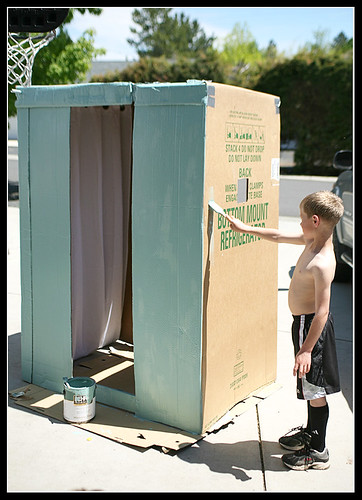
I used leftover paint I had from other home projects to paint the outside of the box. CJ, Levi, and even Winchester helped(?) paint... for a bit anyway. They eventually got bored so I pulled out their kiddie pool and was left finishing this myself. It got much less messy after that.
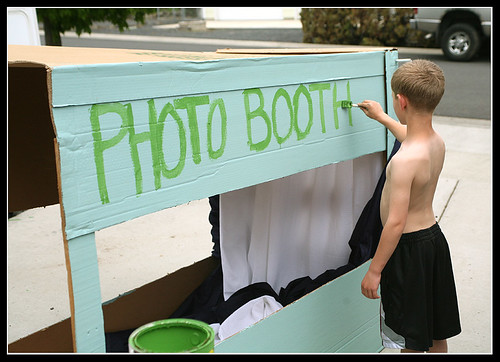
I used a set of old curtains to cover the openings and my son painted the words "PHOTO BOOTH" on each side (again with paint I already had).
Lastly, I determined I needed more light to come in from the camera side of the booth (so I wouldn't have to use a flash) so I cut out a "window" and covered it with some thin white fabric (from an old sheet) so to avoid the sun casting unwanted shadows through the hole. I added two stools for seating and our photo booth was ready to go!

It looked good, but would it work? Time to test it out... again!
Success!!! We have a photo booth ready for a 3rd grade end-of-year party. The part I like best about this is that it cost me exactly $0.00 to make! Anyone can do this project, and any camera can be used with it. Promise!
I'll be writing another post about how you take the photos you took in your photo booth:
And turn them into a fun B&W photo strip.

Plus, how I made this for my son's teacher!

Remember your blessings!
Amber
11 comments:
Awesome awesome job! Love the creativity!
You truly are the greatest. You need to start your own little crafty magazine! :-) THANK YOU for foolishly I mean eagerly taking control of this party! Those kids were talking about it til the last day! Too sweet!!!!!
That is so cool! I can't find the post where you talk about actually taking the pictures. How did you light the inside?
I know this post is a bit old but I am having a wedding photobooth, was curious as to where the post is where you show how you made the photos come out so adorable!!! :)
Cute idea! Where do you suggest getting a box? I've called home depot and lowes but they mentioned how they don't carry fridge boxes anymore :(
Post a Comment