
I picked up this mirror at a local thrift store for I think $25. It's been awhile. The good thing about nice weather is flip flops. The bad thing about nice weather in early spring? Pasty white winter legs!

There were hinges and decorative brass plates I had to remove.

The problem with removing these is they leave big holes in the wood.

I went to the hardware store and got some of this wood filler.

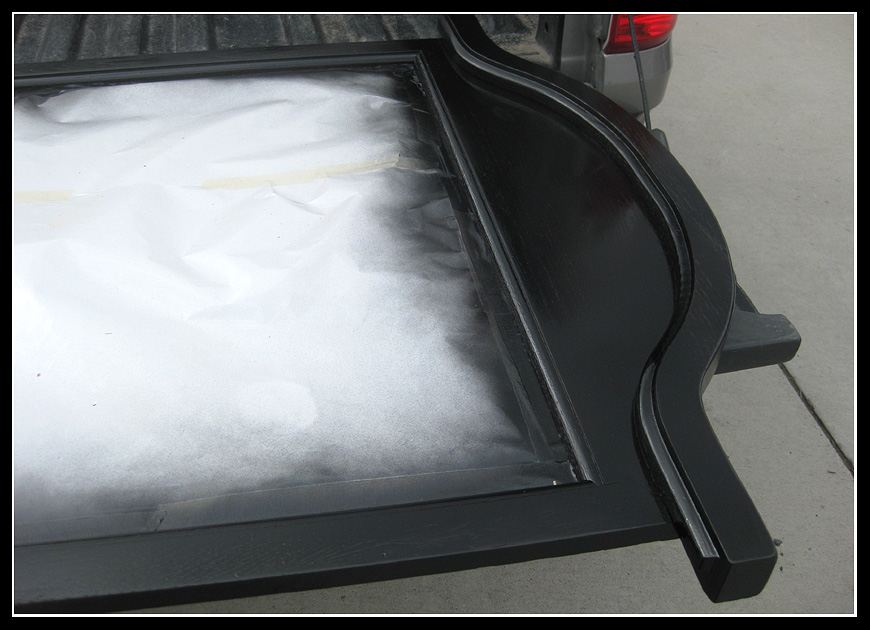
After sanding down the finish, then applying the wood filler, then waiting an agonizing hour and then sanding it again, it was ready to paint. Yay! Oh, and please note I did NOT paint this while it was on the tailgate of my truck. I had to move it due to an unfortunate even that happened under the house having to do with a broken water pipe. Ugh!
After the middle section was done it was time to repeat the steps with the smaller side sections.

After everything was dry it was time to attach the hanging hardware. I was nervous about the nails being too small to hold the weight of the mirror, but after trying with a larger nail I knew I had nothing to worry about. That wood is HARD! I decided to use these sawtooth hangers for the large section; one on each side of the mirror.

But since the side mirrors have a curved top I had to use hanging wires for them.

Here's the wall before the mirrors.

Just $10 worth of supplies, one afternoon of elbow grease, and a flooded basement later, we have this! The mirrors are bigger than what I had pictured, but what an improvement!


Remember your blessings!
Amber
This project linked to:


2 comments:
Great transformation Amber!
What a cool idea! Thanks for stopping by Always Springtime Flowers. I'll hopefully have that tutorial up sometime over the weekend.
Post a Comment